The change development and what has stayed the same in editing from
past to present day.
In this essay I will be investigating the development and what has
stayed the same in editing between 1895 to 2014. I will be investigating the
change in editing and how it had developed.
Editing has changed and developed so much since the first time editing
was introduced into a movie. That
movie was Life of an American Fireman. What makes a movie is the editing in my
opinion.
The Lumieres brothers were pioneers of the first cinema. When their
films were first created they had no editing which gave cinema a short lifespan
and people saw no future in it. This was until Edwin Porter discovered cutting
separate shots together would make a story. Once this was discovered, a whole knew door opened for cinema
resulting in it having a future and surviving.
Life of an American Fireman was when this was first shown to the public
but Great Train Robbery in 1903 was when the cut shot style was first properly
shown and affected how the audiences felt. It was learnt that cutting and
separating shots showing two sides of a story, could make the people watching
feel a certain way and have them feel a particular emotion such as sorrow or
joy and emphasis with the actors on screen.
Nowadays, editing has been changed and developed to speed, slow down,
change where you are and what you see. It can create different moods: scared,
amusement, surprised etc. It all varies on how what shots are chosen and the
length of it.
Two films, which differ in so many ways but are also connected, are
Life of an American Fireman and The Matrix Reloaded. A scene in particular from the The Matrix Reloaded movie
where editing is clearly seen to be extraordinary in comparison to Life of an
American Fireman. This scene consists of a high way chase between the
antagonists of the film and cuts are being constantly made showing each
antagonist and their fight. This scene shows how editing has really changed and
been developed over the last hundred years. However just like in Life of an
American Fireman the editing in both films affect our emotions when watching.
Two movies, which differ so much, yet share some characteristics.
Editing became a lot easier in the 1990’s as people found a way to edit
and still have the same quality and detail just instead of doing it by hand it
was done by using a computer. This meant frames could be slowed down and
precise cuts would be easier to make. However, Verna Fields was an amazing
editor and she didn’t use a computer to edit she did it by hand alongside
Steven Spielberg when piecing together and creating the story of Jaws. Jaws
didn’t go to plan filming wise according to Spielberg and it meant when editing
“2 frames could change the way the audience saw jaws, from looking scary to just
looking like a floating white turd.” A famous quote by Carol Littleton “editing
is to know when not to cut.”
D W Griffiths was the first great editor. He created things that would
revolutionize films. He created melodramas thus emotional engagement with the
audience. Orphans in a Storm by D W Griffiths had the first in movie cut where
it went from wide shot to a close. It was given the name invisible art as us
the audience does not notice them yet they have such a impact on what we are
seeing.
Timmy Smiths would work alongside Griffths when editing. Editor and
director work closely alongside one another when in the editing stage of the
production. Sally Menke who edited Reservoir
Dogs and other films by Quentin Tarintino said “ I would see Quentin more than
I would see my husband when in the editing stage, this sometimes made tensions
high and tempers short as we would be with each other for sometimes up to 8-9
months”.
The
Russian Revolution started messing around with editing. A certain type of
cutting would have an effect on the same the viewer felt. This meant they would
change the way certain people felt about a certain subject. Editing is
a way of manipulating the way the audience is feeling. No matter what is being kind of clips
are being edited it takes time and craftsmanship to create something of a high
standard. It has been like this since editing first began.
Digital editing was groundbreaking. George Lucas was a pioneer of
digital editing. This then meant movies could be remade to look better and
ideas could be remade. Movies like King Kong that came out in the early 1900’s
(1933) and Clash Of The Titans (1981) were made and edited using digital
editing and looked “out of this world.”
In conclusion, editing has changed and developed so much since it was
first discovered over a hundred years ago from different techniques and types
to how we see films altogether. Without Edwin Porter discovering that cutting
separate shots together to make a story, we would not have the cinema we have
today. In my opinion, if that were the case then cinema would have had no
future and would of died. Still to
this day editing is constantly evolving and being made better. I’m sure that it
won’t stop and films will be even more unbelievable than they are today.




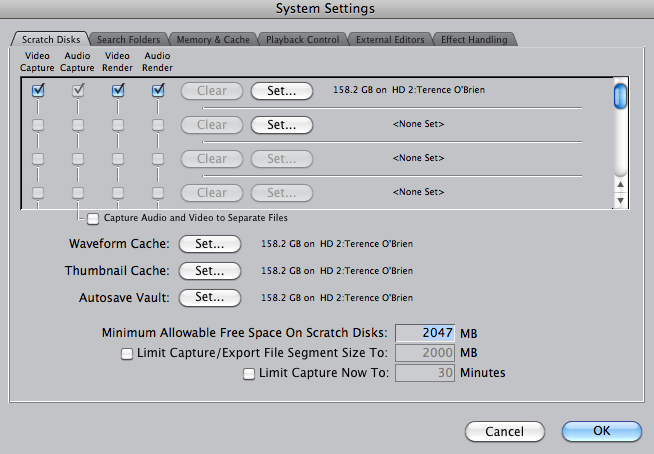 2. Now you set up your scratch disk by making a folder in HD2 and selecting it so it saves your work.


